Raspberry Pi 64×64 RGB Matrix: Best HUB75 HAT
Can a Raspberry Pi run a 64×64 RGB LED matrix panel, and what interface or HAT is required?
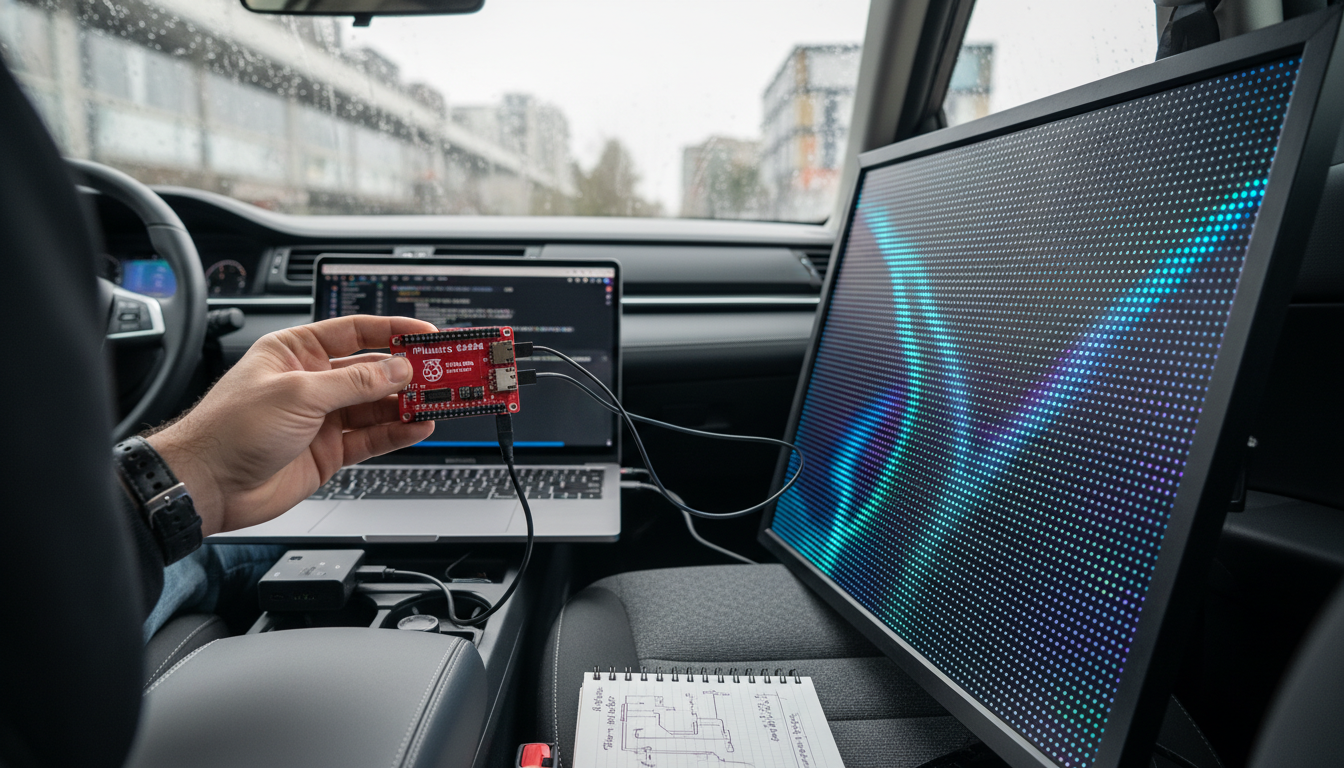
Yes. A Raspberry Pi can run a 64×64 RGB LED matrix panel smoothly, but it typically needs the right hardware interface to handle the panel’s high refresh demands and to simplify wiring. Most 64×64 panels use the standard HUB75 connector, which carries the row/column data lines and requires precise timing. While it’s possible to wire a panel directly to the Pi’s GPIO, a dedicated interface board (often called a HAT) is the most reliable approach for stable brightness, reduced flicker, and easier setup.
Answer
For a 64×64 RGB matrix panel, the common requirement is a HUB75-compatible interface. The most widely used solution is a Raspberry Pi RGB Matrix HAT (HUB75 HAT) that maps the panel’s HUB75 signals to the Pi’s GPIO in a proven layout and often adds helpful features like a level shifter, proper signal routing, and screw terminals for power distribution.
Choose a HAT designed specifically for HUB75 LED matrices and compatible with your Pi model (many work across Pi 3/4/Zero form factors, but it’s worth confirming the header alignment and supported pin mapping). A quality HUB75 HAT also makes it easier to connect the panel’s ribbon cable securely and may support chaining multiple panels for larger displays.
Keep in mind that the interface HAT handles signaling, not power. A 64×64 panel can draw significant current, especially at higher brightness with lots of white content, so you’ll still need an appropriately sized 5V power supply and solid power wiring. For deeper practical details—power sizing, typical current draw, and project considerations—see the full guide here: 64×64 RGB LED matrix panel power specs and projects.
FAQ
What power supply do I need for a 64×64 RGB LED matrix panel?
Most 64×64 panels require a dedicated 5V supply with enough amperage for peak brightness; many builds plan for several amps of headroom. Use thick power leads and connect power directly to the panel’s input terminals rather than relying on the Raspberry Pi to supply current.


Leave a comment